When it comes to streamlining plastering or masonry work, few tools are as efficient and game-changing as mortar pump. Designed to mix and deliver mortar to the exact location it’s needed, this powerful machine has become an essential asset for contractors looking to save time, reduce manual labour, and improve the consistency of their work.
If you’re new to mortar pumps or considering adding one to your construction workflow, this guide will walk you through the basics of how to use one effectively on site.
What is a Mortar Pump
A mortar pump is a mechanical device used to mix and transport mortar, plaster, or other cement-based mixtures directly to the point of application. It eliminates the need for manual mixing and bucket-carrying, making it ideal for large-scale projects or tight construction schedules.
There are various types of mortar pump—manual, electric, and diesel-powered—each suited to different job and sizes and material needs. Many models are also compatible with additives, helping improve flow, reduce clogging, and enhance the quality of the final finish.
Setting up your Mortar Pump
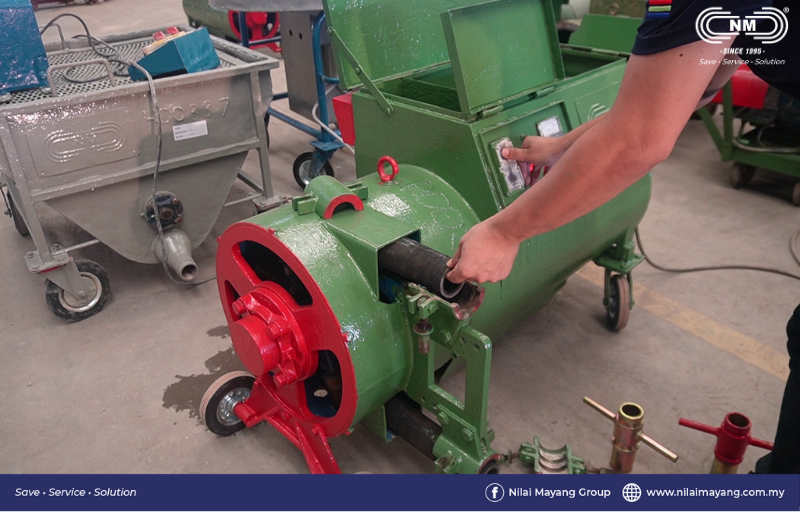
Before starting the pump, it’s important to set it up properly. This includes placing the machine on a level surface and connecting all the hoses and fitting according to the manufacturer’s instructions. If the machine requires a compressor, ensure it’s securely connected and fully operational.
Always check your safety gear (gloves, goggles, mask) and confirm that the machine has been cleaned and maintained after its last use. Skipping this step can result in blockages, uneven pumping, or damage to the equipment.
Loading the Mortar
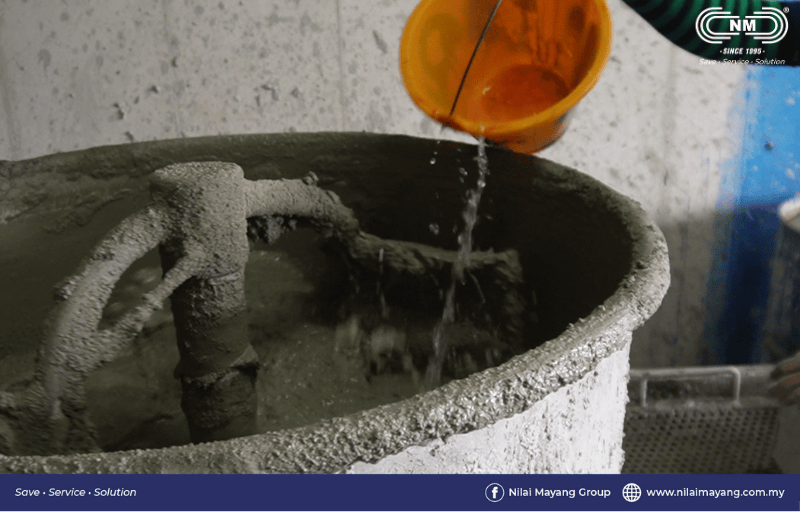
Once set up, prepare your mortar mix and pour it into the pump’s hopper. Some mortar pumps come with a built-in mixer; if not, you’ll need to ensure the mix is uniform before pouring. The key here is to use a consistent, workable mix—not too wet and not too dry—to avoid clogging the pump.
It’s also a good idea to use a cement enhancer or plasticizer to improve the flow and workability of the mortar. This not only ensures a smoother pumping process but also enhances the quality of the applied material.
Operating the Mortar Pump
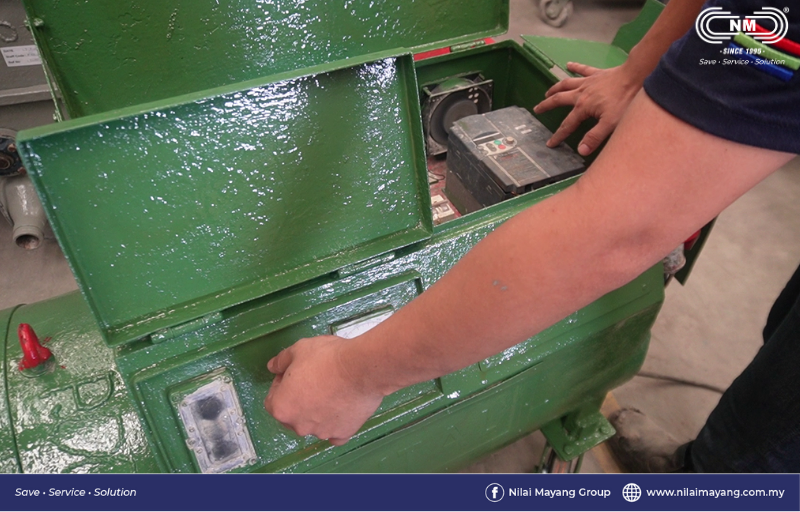
Start the pump and slowly adjust the flow rate. As the mortar begins to flow through the hose, guide it to the area where it’s needed. Whether you’re plastering a wall or or applying mortar for bricklaying, the process is significantly faster and more consistent than manual application.
A key tip for beginners: always monitor the pressure and flow. If you notice sputtering or inconsistent discharge, pause the machine and check for blockages or air pockets in the line.
Cleaning After Use
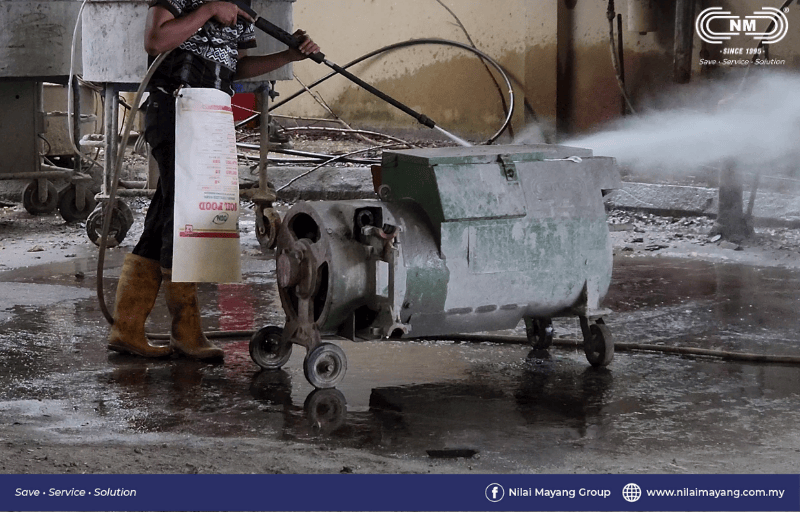
Once the job is done, thorough cleaning is essential. leftover mortar can harden inside the pump or hoses, leading to damage or poor performance during the next use. Flush out the system with clean water and inspect all parts for wear and tear.
A well-maintained mortar pump will last longer and perform better, saving your money in the long run.
Final Thoughts
Using a mortar pump may seem intimidating at first, but with the right setup, proper mixing, and a little practice, it becomes a reliable tool that can transform your workflow. For contractors aiming to stay competitive and efficient, learning how to operate a mortar pump is a step in the right direction.
If you’re just starting out of considering investing in on, take the time to understand the basics—and you’ll see quickly why so many professionals swear by this powerful machine.